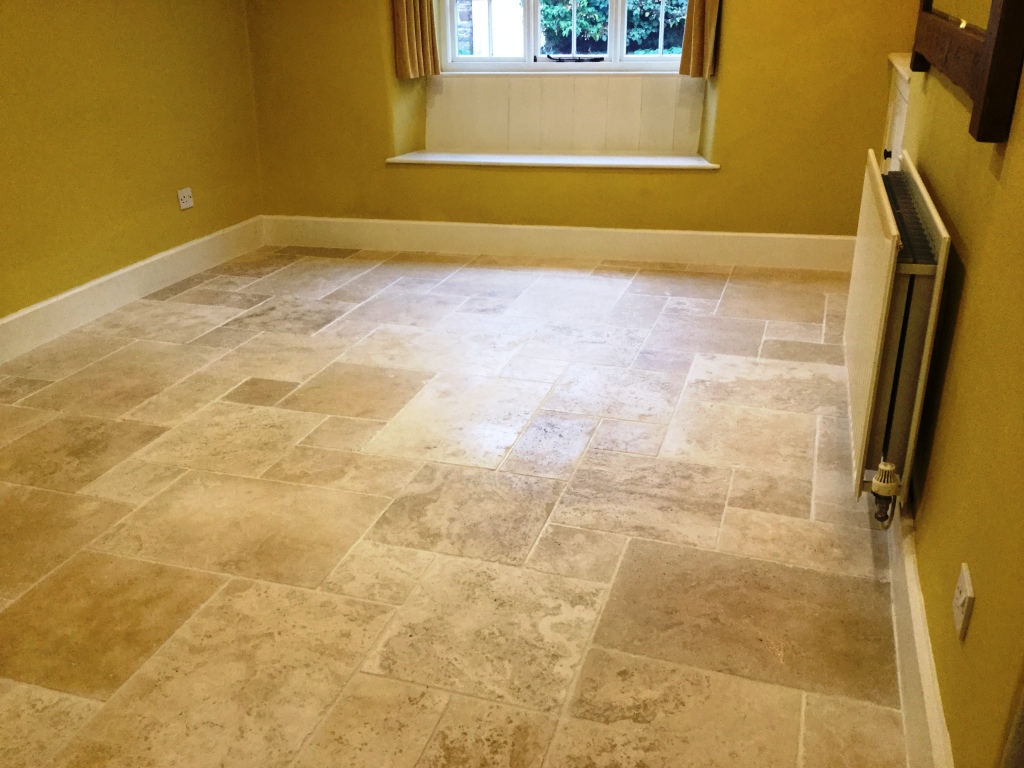
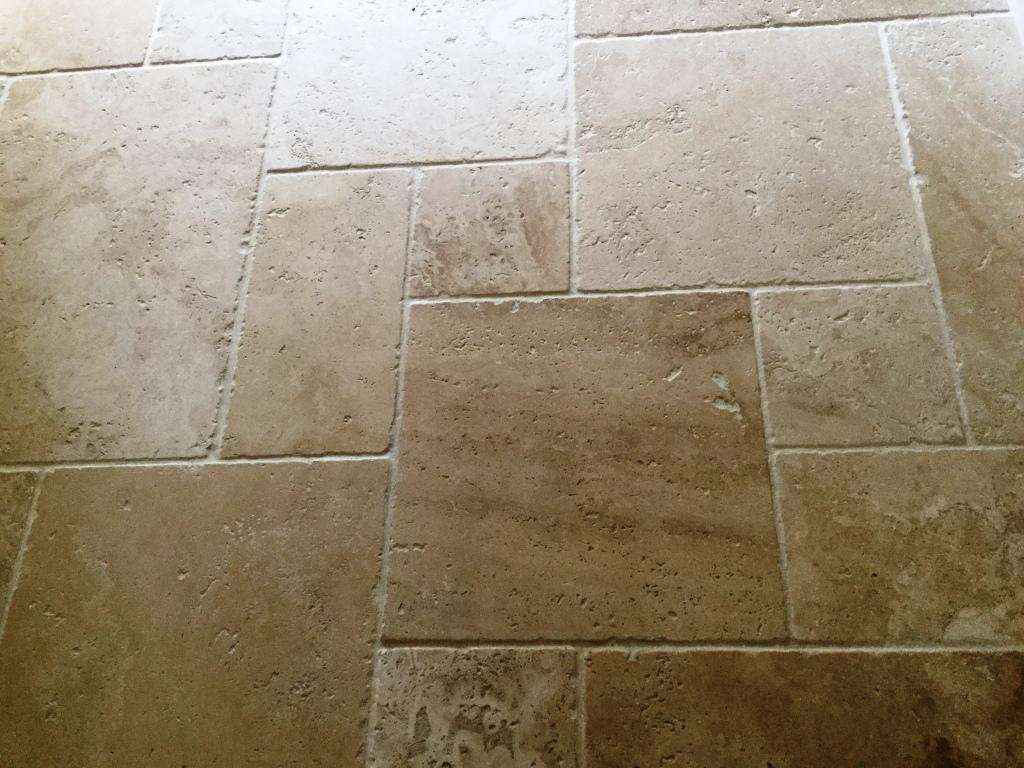
Travertine is a highly coveted and popular choice for tiled floors – and it’s easy to see why. At peak condition, it’s one of the most beautiful and eye-catching types of tile that is available. However, the appearance of the stone tends to suffer heavily from a natural process of corrosion know as pitting, which results in small holes developing that easily fill up with dirt and muck over time. This ingrained dirt is particularly difficult to remove with domestic, supermarket-quality cleaning products.
This customer, who lives in Staverton, near Daventry in Northamptonshire, was very concerned that his Travertine tiled floor had lost its former lustre and shine due to pitting issues, continued foot traffic, and the fact that the sealant has lost its performance over the last few years and hadn’t been topped up. Dirt had therefore been allowed to penetrate both the grout and stone making it look dull and uninviting.
 |
 |
A quote was issued and accepted to restore the floor to its former glory. It was agreed the work would best be carried out whilst the customer was away on a short break with his family.
Burnishing and Cleaning a Travertine Tiled Floor
I decided the best course of action to bring the floor back to its former glory would be to hone and polish the stone with Tile Doctor diamond encrusted burnishing pads. Our burnishing process involves removal of a very thin layer of the top surface of the stone using four pads of different grits.
The first pad has a Coarse 400 grit. It is attached to a rotary machine and, with only water for lubrication, removes minor scratches, sealers, and the top surface dirt. Working in small areas of four-six square metres each, I applied the pad across the the entire floor, rinsing in between eras and picking up the soiled solution with a wet-vac machine.
I then repeated this same procedure with the second pad, which is a Medium 800 grit pad used to remove dirt from minor scratches and holes in the stone. Next, I mixed up some Tile Doctor Pro Clean and sprayed it on the grout lines, which were only lightly soiled, and used hand brushes to clean them. The next burnishing pad I used had a Fine 1500 grit, which is used to start the polishing process.
Following the application of the first three pads, I stopped to allow the area to dry overnight. To get the best results with burnishing, it is best that the tiles are dry as otherwise you won’t achieve the highest level of shine possible. Returning the following day, I proceeded to apply the final Very Fine 3000 grit burnishing pad to achieve a very high quality polished finish.
Sealing a Travertine Tiled Floor
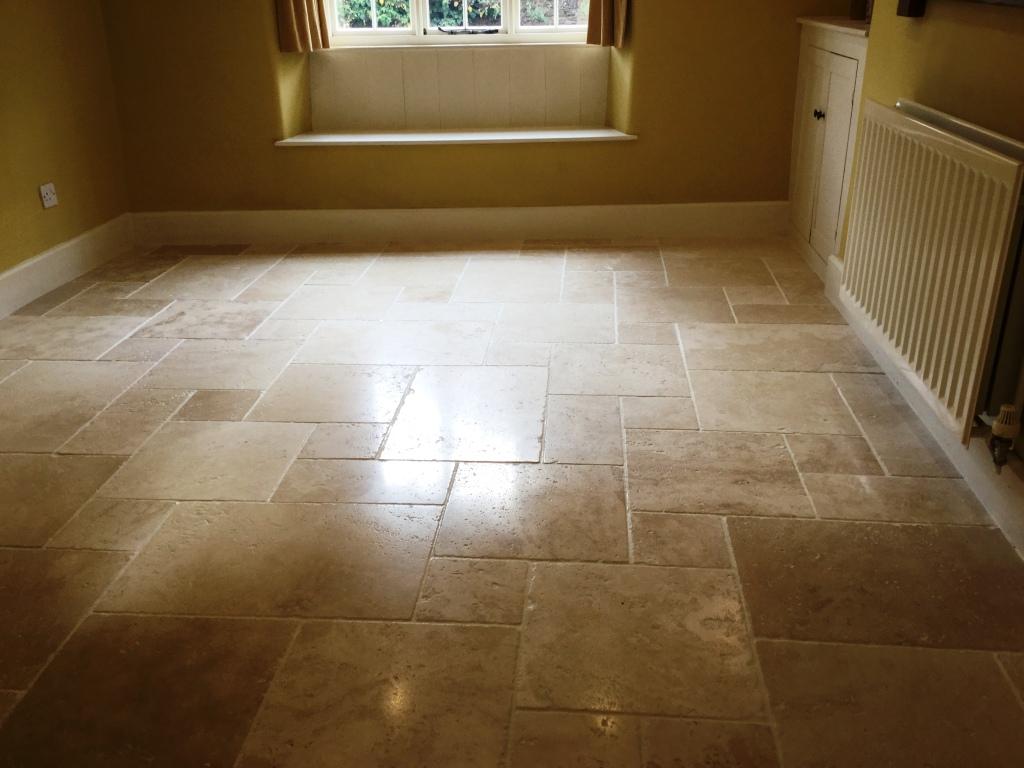
Once the burnishing process was completed, I applied two coats of Tile Doctor Ultra Seal to seal the tiles. Ultra Seal is a no-sheen, natural look impregnating sealer designed to provide maximum protection against dirt and stains. The second coat was allowed to dry for an hour before I re-polished the entire floor with a very fine 3000 grit pad to refine the polish even further.
The fantastic results can be seen in the photos below.
 |
 |
The customer was very happy with the result, leaving the following feedback:
“Just wanted to thank you for an excellent job in cleaning and returning our dining room and kitchen floor to its former glory. It looks fantastic! The floor definitely benefits from a more honed/polished finish.”
It’s always nice to get feedback like that, it really does make your efforts feel appreciated.

Source: Grout Cleaning and Colouring Service in Northamptonshire
Tile Doctor is the largest Tile and Stone cleaning network in the UK and have a number of services available including the provision of a regular maintenance service; whatever or wherever your problem, give us a call on 0845 652 4652 for help and advice.